Remote Notification
Push notification allows your app to reach users more frequently, and can also perform some tasks. In this tutorial, we will learn how to config apps to get remote notifications, display contents and then perform some actions when the user presses in.
Let’s get started.
APNs
APNs, which stands for Apple Push Notification service, is a service that delivers messages to your applications. The notification information sent can include badges, sounds, custom content, or custom text alerts. Note that you need a paid developer account so that you can configure your app with the Push Notification capability. You also need a physical device for testing if you want to launch remote notifications as push notifications are not available in the simulator. You only can simulate notifications on simulators.
Configuration
Firstly, you need to add the push notifications entitlement to your project,
Head over the Project Setting > Signing Capabilities > + Capability > Add Push Notification

If you want to send notifications to real devices, you need to do some extra steps to have a notification key:
- Sign in to Apple developer
- Under the
Keyssection > Add new keys > Enter your key name > SelectApple Push Notifications service (APNs)> Continue.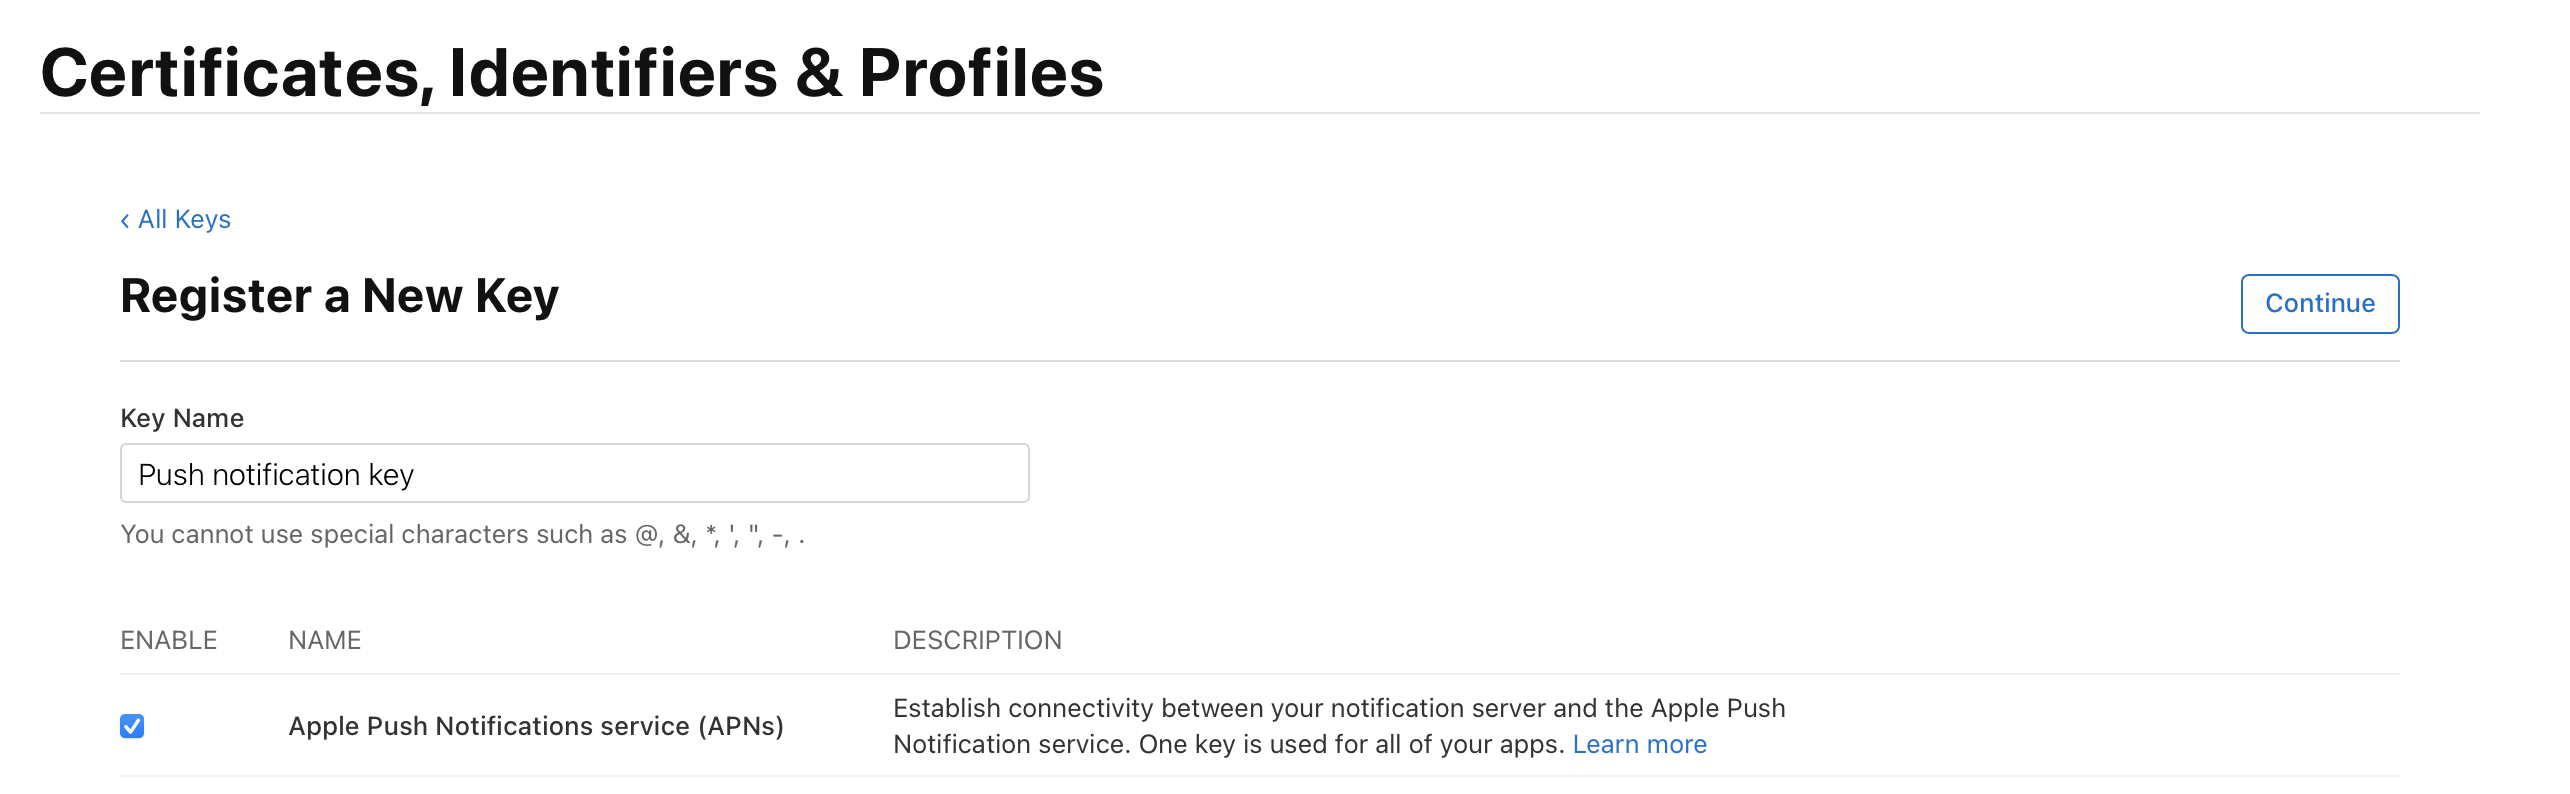
- Download the key and store it to any location you want to save this key. Notice the file name of the key file has a pattern
AuthKey_[Key ID].p8
Request user permissions
Next, the app needs to ask the user to get permission to show notifications.
Open the AppDelegate.swift and add the following code
1 | func application(_ application: UIApplication, didFinishLaunchingWithOptions launchOptions: [UIApplication.LaunchOptionsKey: Any]?) -> Bool { |
If the process complete successfully, the didRegisterForRemoteNotificationsWithDeviceToken: callback will be called including your device token (A unique value to identify your device, note that it is different every time you re-install the app).
If an error occurs, the didFailToRegisterForRemoteNotificationsWithError: will be triggered.
1 | func application(_ application: UIApplication, didRegisterForRemoteNotificationsWithDeviceToken deviceToken: Data) { |
Notice the Alert, sound, and badge is the common combination when requesting authorization.
There are other options you can find on Apple doc.
Another warning is that if you run your app in a simulator, you will get the didFailToRegisterForRemoteNotificationsWithError event as remote notification are not supported on simulators.
Handle notifications while the app is in foreground
After registering to remote notification successfully, if you want to handle notifications while your app is in the foreground, you need to implement the userNotificationCenter:willPresent:withCompletionHandler in your class.
1 | public func userNotificationCenter(_ center: UNUserNotificationCenter, willPresent notification: UNNotification, withCompletionHandler completionHandler: @escaping (UNNotificationPresentationOptions) -> Void) { |
If you do not implement this function, notifications will not show if your app is in the foreground.
It’s time to send notification
There are 2 ways to test your implementation. If you don’t have a physical device, don’t worry, you still can simulate notifications in a simple way, or you can send real notifications to real devices.
Simulate APNs
Create a file with ext .apns. eg. SimulateNoti.apns, then copy your content to this file
1 | { |
Dragging and dropping this onto the target simulator will present the notification

Push to real devices
First, you need a remote notification client tool that helps you to push a notification. A great tool to test is Push notification tester. Let’s navigate to this website to download and launch the app.
After launching the app successfully,
Switch to
TOKENtab inAuthenticationsection.Press
SELECT P8and select your P8 file which is downloaded from the previous step, then Fill in the rest informationKEY ID,TEAM ID. TheKEY IDis a part of the P8 file nameAuthKey_[Key ID].p8. For theTEAM ID, you can find it on your membership page.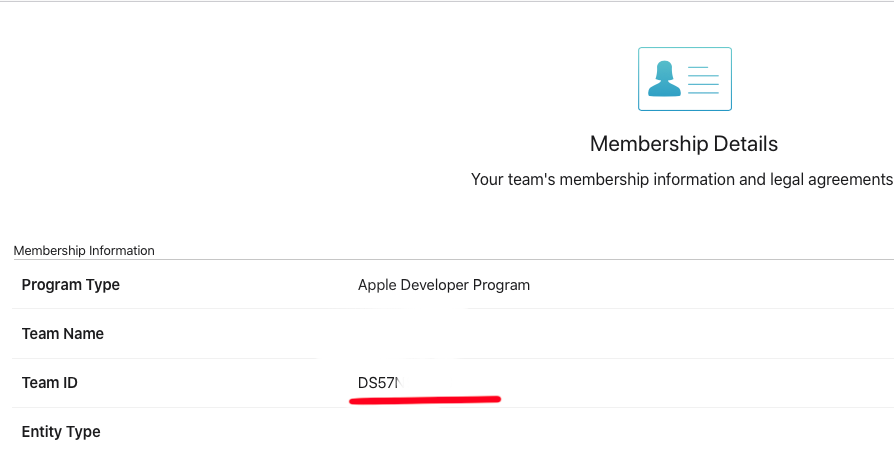
In
Bodysection, fill in your app bundle Id (e.g com.example.yourapp) and your device token which is generated fromdidRegisterForRemoteNotificationsWithDeviceToken:callback.Compose your content. Here is a common body for push notification.
e.g1
2
3
4
5
6
7
8
9
10{
"aps": {
"alert": {
"title" : "Your title",
"subtitle" : "Your subtitle",
"body" : "Your body"
},
"sound": "default"
}
}
For all available options in a notification, please refer to Apple doc: generating_a_remote_notification
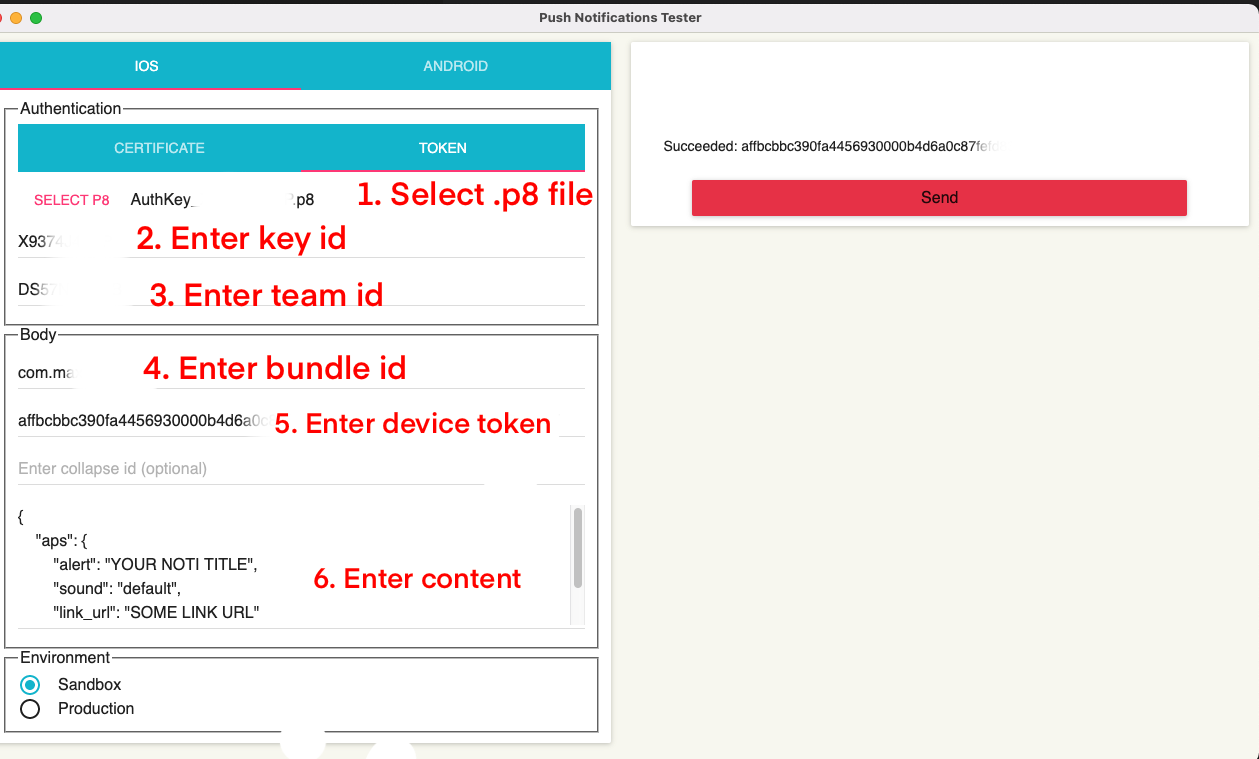
- Press the
Sendbutton to deliver your notification to the selected device. A message will be appeared on the top of the button to show the result.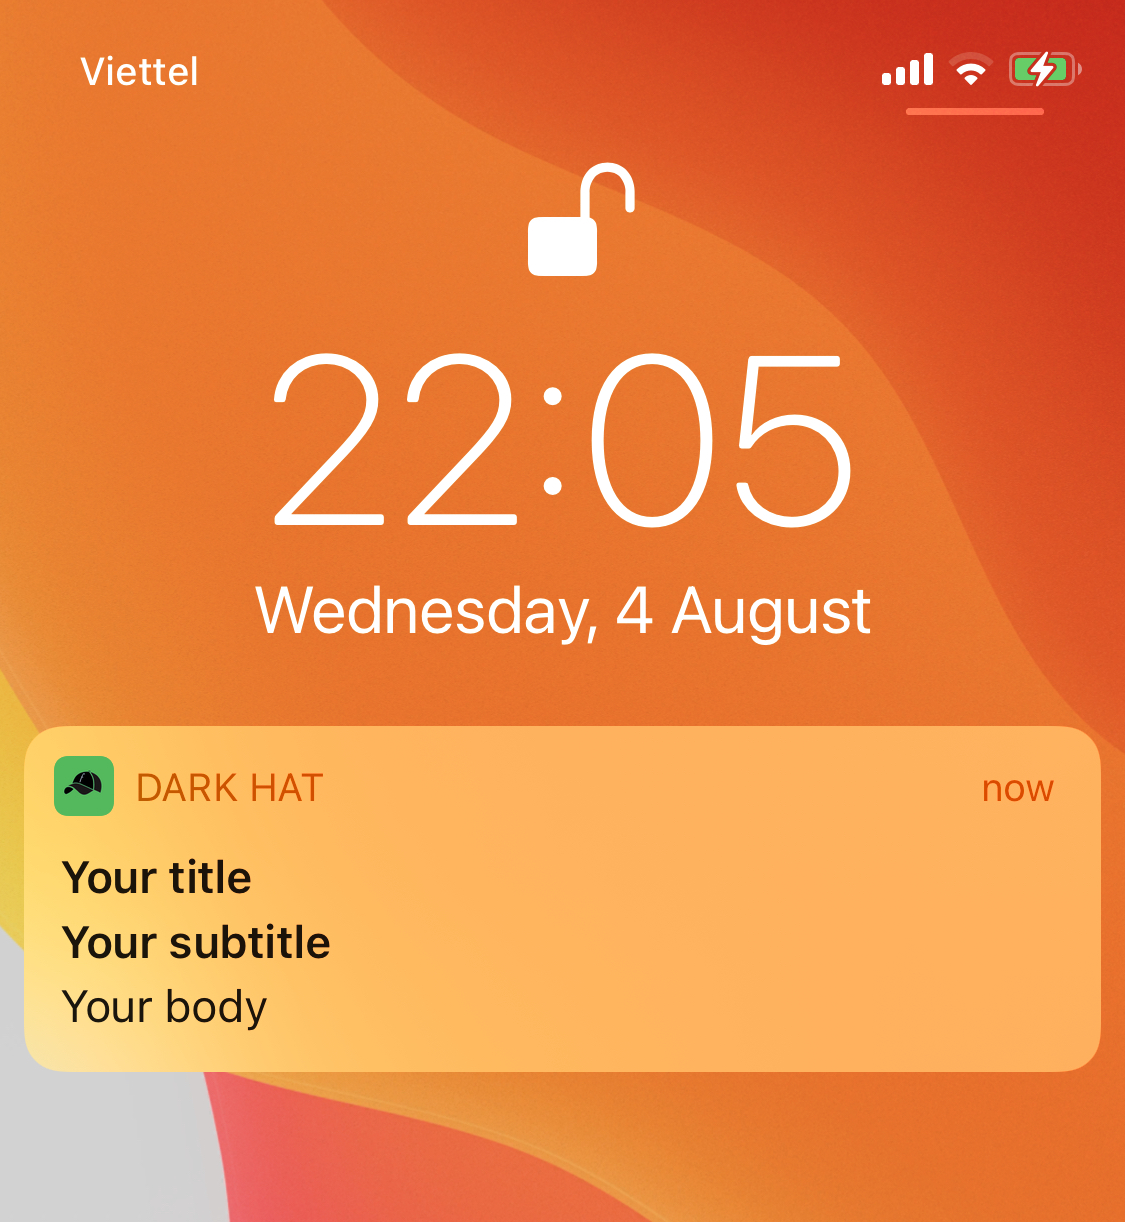
Silent notification
From my perspective, the most interesting feature of Push notification is “Silent notification”, which can wake your app up to perform some tasks while your app is in the background, even if your app was terminated by the user. Many engineers out there are finding a way to keep their app lives in the background as many as they can. There are several ways to achieve it by using restoration and preservation, core location, iBeacon. Silent push notification is one among of them.
I will have another post talking about silent notification and my experiment so we will have more details and info.
To send a silent notification, simply change the JSON content to
1 | { |
After pressing the Send button, there is no notification showing on your app.
Final thought
By using push notifications wisely, you can engage users coming back to your app again. However, if you overdo the notifications, it can lead to negative effects such as users turn off permissions to your app or rate your app 1* with complaints on the store (Same as our story in the past :)).
Notifications not only help to deliver your messages to users but also can be used for other advanced purposes like wake your app up by using silent notifications. In the next post, we will have a deep look at this amazing feature.
If you have any doubts or comments, let me know.
Happy sharing!