Beta Test and TestFlight
As an iOS developer, you might have heard about TestFlight - a product of Apple that allows you to distribute your apps to beta users. So what can we do with it? Is it useful?
In this tutorial, we will walk through steps uploading a build to TestFlight, and invite users to test your app.
You also need to refer the previous post Shipping your app to Store to complete this tutorial.
Let’s have fun!
What is TestFlight?
TestFlight is a product of Apple that allows developers to distribute their apps to beta users before rolling to production. With the latest update of TestFlight app on iOS 13, testers can give feedback directly from the app with screenshots, crashes and other useful information provided. Using TestFlight is a great way to help to test your apps and improve the performance before it goes live.
TestFlight provides two types of testers:
- Internal Tester: It takes up to 25 members of your team who have been assigned a specified role to test your app. Each member can test on up to 30 devices. Once a beta build is submitted to App Store Connect and is available for testing, internal testers will be notified so that they can update the app.
- External Tester: You can invite up to 10,000 testers using just their email address or by sharing a public link.
The main difference from the two is to let External Tester test your app, you must submit your app to Apple for review. The reviewing process is the same as an official submission but it’s usually going faster than normal app reviews. By contract, testing your app with internal testers does not require review by Apple.
Select build for testing
After completing the final step at Shipping your app to Store, your app is successfully submitted to App Store Connect. Now, navigate to your Apple developer page and sign in with your Apple Id, then select “My Apps” to see all available apps > Select a specified app > From the top toolbar > Select TestFlight > You will see all builds that are available for testing.
The following image gives you a quick look of TestFlight dashboard

From the main window, you can see all available versions of your app; when it expires; how many invitations sent; how many installations succeeded. etc.
To add new users, click on “App Store Connect Users” at the left sidebar > Press “+” button > Then fill in your tester information including there App Id. After that, you can add your tester to your build.
TestFlight App
Testers need install TestFlight app on their device. This app is free and available on App Store.

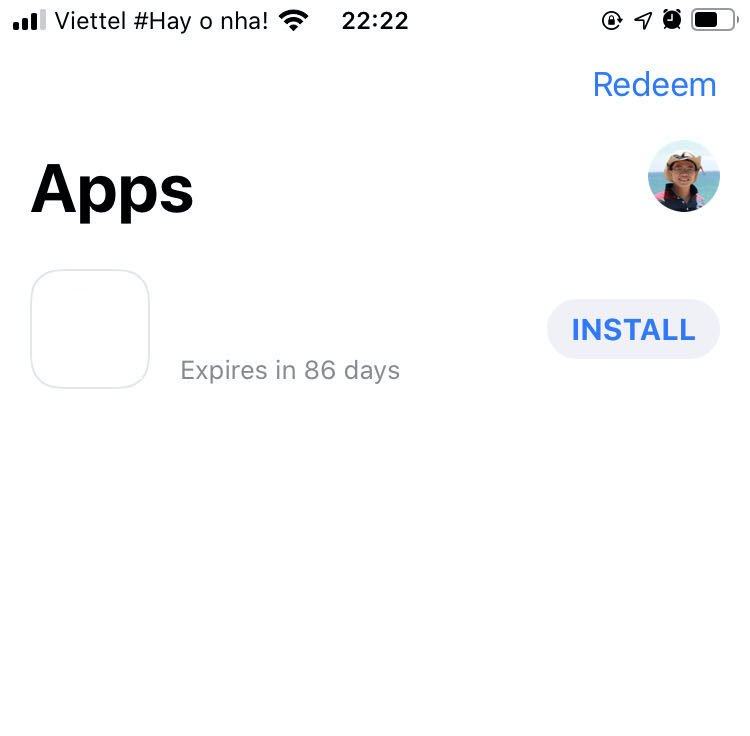
After adding your testers to the build, testers will use their invitation email or a public link to enroll in the testing.
Open the TestFlight app, the tester needs to sign in with their App Id. After that, they will see all available apps that they can install which just be the same as App Store. A small note that you will see a small orange dot near the name of the app to indicate this build installing from TestFlight. Easy, huh?
From now on, whenever a build of this app is available, your tester will receive a notification and an email from TestFlight. They then can update this app via TestFlight and enjoy the latest version.
After testing
When you are done testing, you can stop the app from testing, and then go to publishing an app for the process of submitting your app to the App Store. Your beta build will become unavailable in TestFlight after 90 days by default.
In this post, we had a quick look at TestFlight and how to distribute your beta test to your testers. In practice, beta testing is a common term in the software development process. Having knowledge of how to distribute your app will be useful in some situations.
Happy coding!!!