Integrate Google Drive to iOS app

At Fossil, I’ve had the chance to experiment with Google Drive integration, as a cloud bases storage. The main advantage of using Google Drive is to share with other members easily, with a good web-based UI to modify the contents of folders, and it’s free. However, I struggled when trying to make Google Drive work due to lack of documents and articles related to Google Drive APIs, especially in Swift. Additionally, the code and examples on Google’s sites are out of date. Therefore, I decided to write this article with a hope of saving your time when you want to integrate Google Drive to your apps. Let’s get started.
Create your app and Google API access
In order to use Google APIs, firstly we have to go to Google Console Dashboard to create a project. So head to Google cloud console, click the drop-down menu to create a new project.
Your Google Drive API is disabled by default when you create new projects. To enable Google Drive API manually, click on “APIs & Services” item on the left bar side, it will lead you to another page where you can enable Google services for your apps.
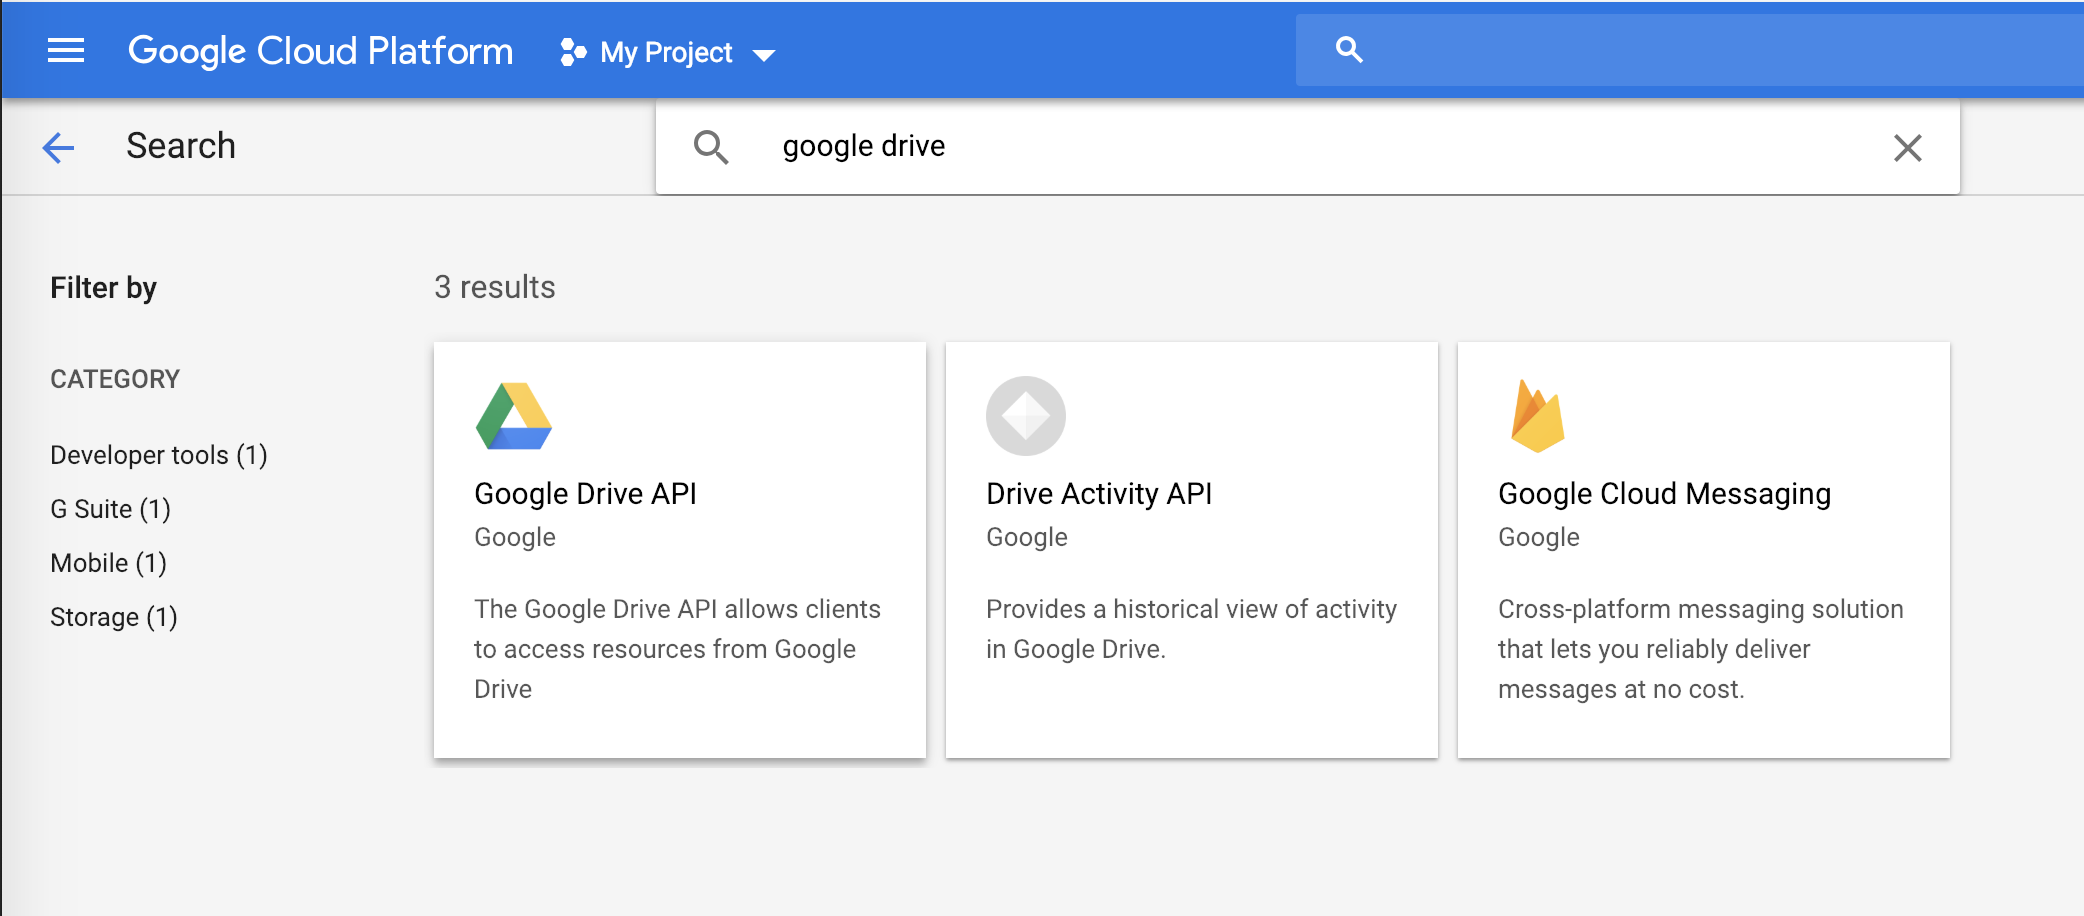
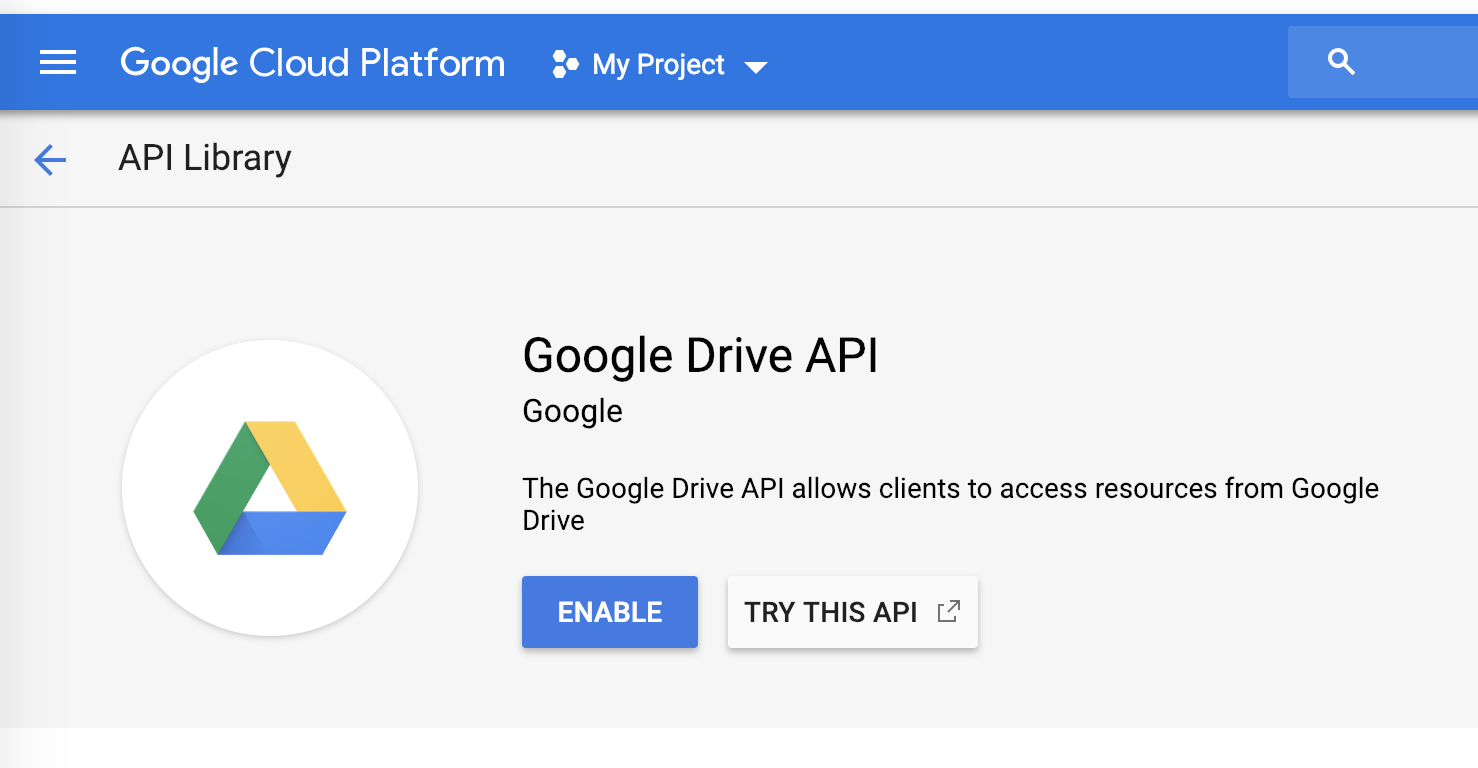
Click “Enable APIs and services” button, then type to search for “Google drive”, next select Google Drive from results, finally click “Enable” to activate the app.

That’s all you need to create an app using Google API.
Add credential for your iOS app
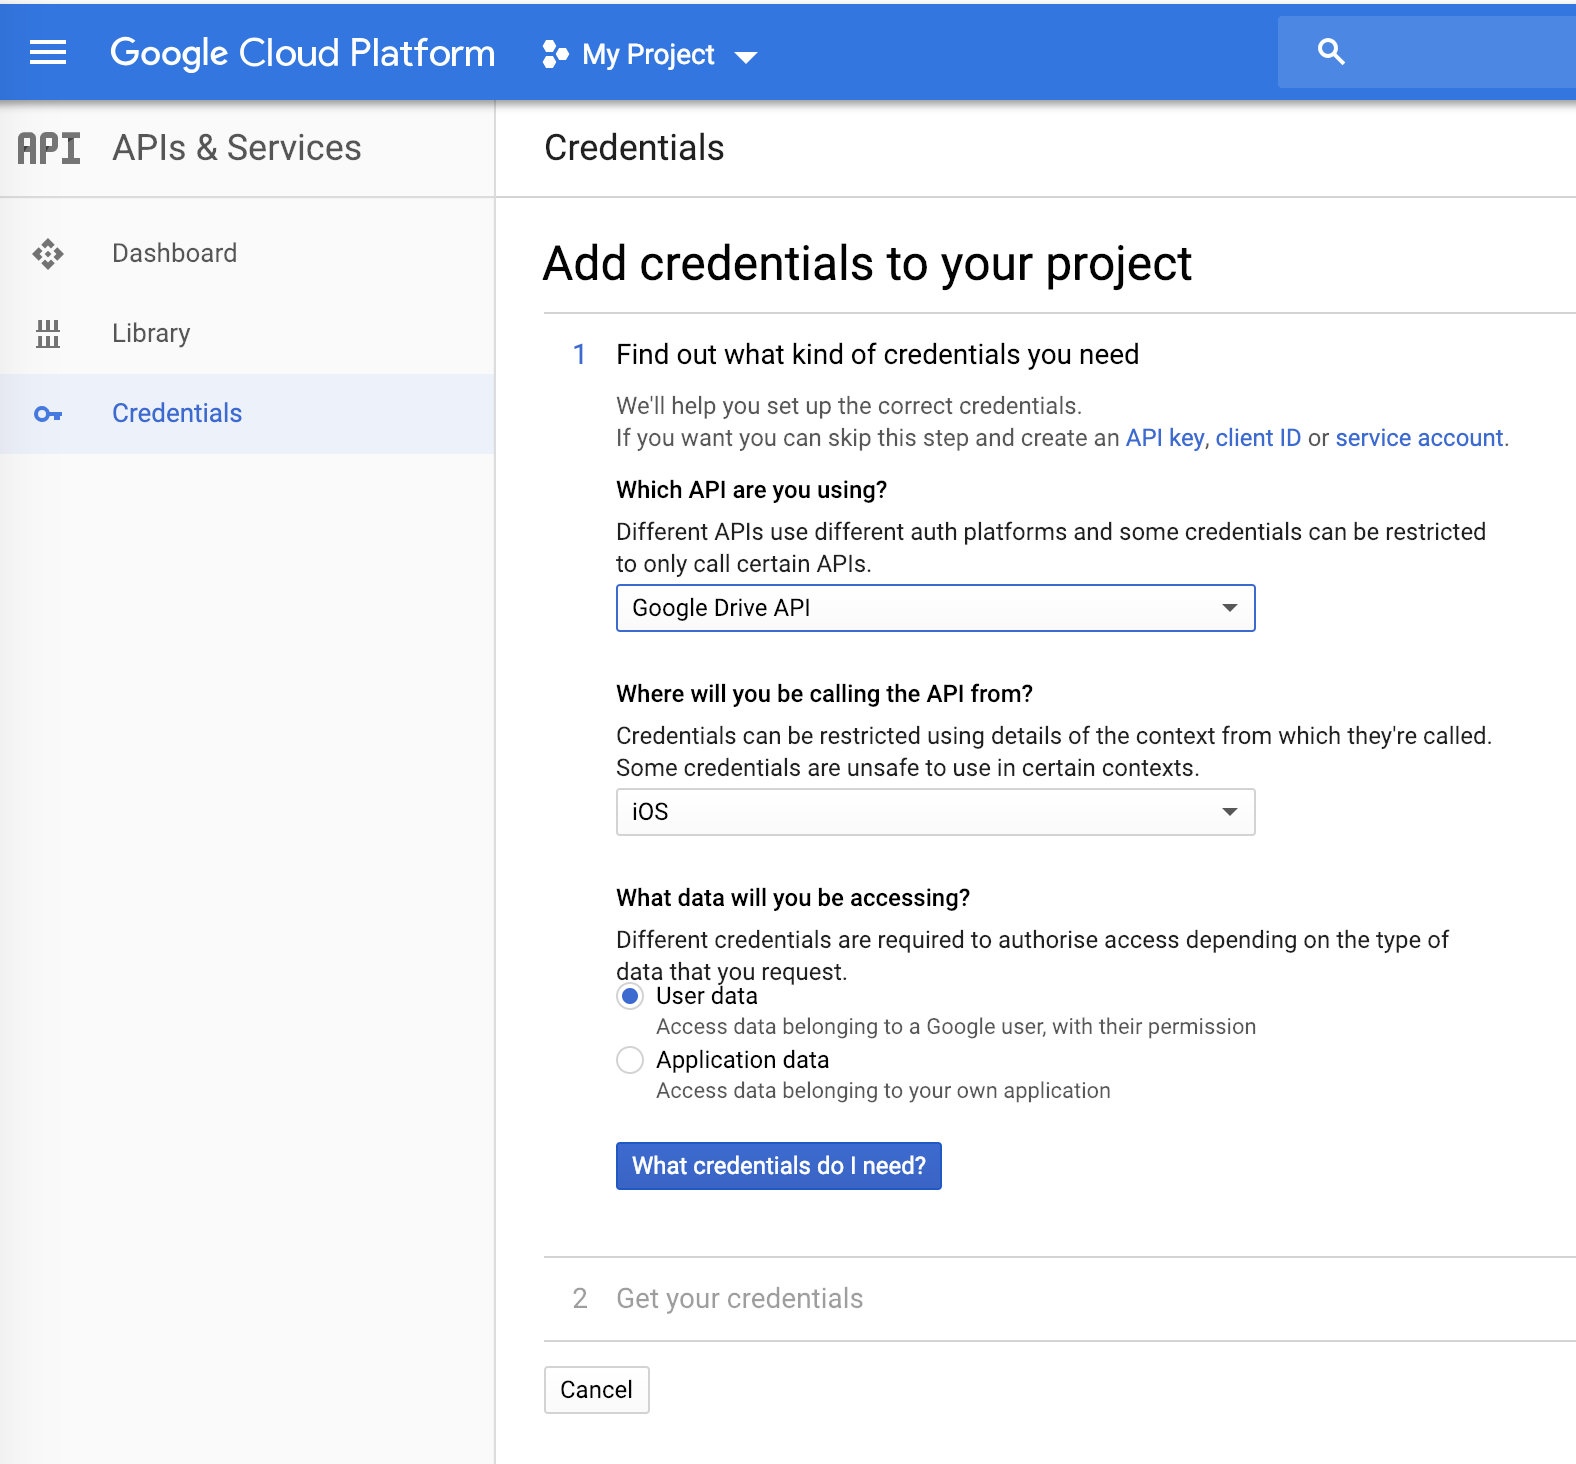
Credentials allow your iOS to access your enabled APIs. Click to “Credentials” button on the left sidebar to add your iOS app. Next, input your app information including your app name and bundle id, please note that you need to type exactly the bundle id, otherwise it will not work.
After creating new credential successfully, you should be able to download the plist file that will contain the keys necessary for setting up your Xcode project. Keep this file in a safe place, we will use it in the next step.
1 | <?xml version="1.0" encoding="UTF-8"?> |
Project configuration
Google APIs Client Library is a library written by Google for accessing Google APIs. Go ahead and add the following library to your Pod file.
1 | pod 'GoogleAPIClientForREST/Drive', '~> 1.2.1' |
You will find YOUR_REVERSED_CLIENT_ID and YOUR_CLIENT_ID in the client configuration plist file that you downloaded previously. Select your target project, go to “Info” tab, add a new item at the “URL Types” section, then input YOUR_REVERSED_CLIENT_ID at the “URL Schemes” box.
In case you don’t know what URL Schemes use for, every each item in the URL Schemes section allows you to define a custom URL scheme for your app. For example, your app might let users tapping a custom URL in an email to launch your app in a specified context. By default, Apple supports common schemes associated with system apps like mail, sms, facetime, etc. For more information, please refer to Defining a Custom URL Scheme for Your App
If you don’t add YOUR_REVERSED_CLIENT_ID as a custom URL scheme, your app will get the following crash when trying to authorize with Google API. So make sure you don’t miss this important step.
Next, open the AppDelegate.swift file, add your client id to Google Sign In instance.
1 | func application(_ application: UIApplication, didFinishLaunchingWithOptions launchOptions: [UIApplication.LaunchOptionsKey: Any]?) -> Bool { |
Then, open your ViewController where you allow user to sign in with their Google account and implement the two delegate GIDSignInUIDelegate and GIDSignInDelegate from Google Sign in.
1 | extension ViewController: GIDSignInDelegate { |
Finally, assign Google sign in delegate to your view controller.
1 | private func setupGoogleSignIn() { |
You might notice the GIDSignIn.sharedInstance().scopes line of code. This line of code defines which permissions the user grants for your app to access their data when authenticating. In this case, we use the kGTLRAuthScopeDrive scope that allows our app to view and manage all the files in the user’s Google Drive, including team drive. The signInSilently method will attempt to sign in a previously authenticated user silently.
If you do all the above steps properly, you should be able to authenticate your app with Google API.
Common APIs
Work with “My Drive”
Searching
1 | public func search(_ name: String, onCompleted: @escaping (GTLRDrive_File?, Error?) -> ()) { |
Listing
1 | public func listFiles(_ folderID: String, onCompleted: @escaping (GTLRDrive_FileList?, Error?) -> ()) { |
Uploading
1 | private func upload(_ folderID: String, fileName: String, data: Data, MIMEType: String, onCompleted: ((String?, Error?) -> ())?) { |
Downloading
1 | public func download(_ fileItem: GTLRDrive_File, onCompleted: @escaping (Data?, Error?) -> ()) { |
Deleting
1 | public func delete(_ fileItem: GTLRDrive_File, onCompleted: @escaping ((Error?) -> ())) { |
Work with “Team Drive”
The only thing we need to do in order to work with “Team Drive” is to set the corpora param of the query to teamDrive. By default, the user corpora is applied. That means the query only applied to the folders onwed by the user. By setting to teamDrive, we indicate that the query will affect to team drive of the user. We can combine multiple corpora in a single query if you need to do so.
Final thoughts
Google Drive is an ideal storage to integrate with our applications. In this article, we covered how to config Google Drive API and how to execute common APIs. I hope you learned something today.
You can find all the source code demo on my Github 🙂
References
[1] Google Developer https://developers.google.com/drive/api/v3/about-sdk