Integrate Google Sign In on MacOS App in Swift

As an iOS developer, you might have chances to write applications on Mac os. And sometimes, your applications require users to authenticate before they can use your app. Enabling Google Sign in helps you save a lot of time to implement authentication flow. Unfortunately, it is a lack of documentation on how to integrate Google Sign in on Macos app, particularly in Swift. I once had a chance to implement this feature to my app. Now I want to share with you how we can do it. Let’s get started.
Setting up
Let’s first create your mac os application, name whatever you like. Then, run pod init command to init the Pod workspace.
Next, add the following line to your Pod file.
1 | use_frameworks! |
Then run pod install to download all these dependencies.
Get an OAuth client ID
Before getting started to the example, firstly go-ahead to Google Console and create a new project. Then press the “Create credentials” > “OAuth client ID” > “Other” application type > Follow the instructions to get your credentials.
After you create the OAuth client ID, take note of the client ID and the client secret, which you will need to configure Google Sign-in in your app. You can optionally download the configuration file containing your project information for future reference.

Config project
Make sure that you configure your app to allow incoming and outcoming network by going to Signing & Capabilities > App Sanbox > Check both Incoming Connections & Outcoming Connections. If you do not do that, you will get the following error because your app does not have permission to perform requests.
1 | 2019-12-11 22:22:49.472046+0700 GoogleSignInDemo[3955:65750] Metal API Validation Enabled |
Next, open the Info.plist and add a new value for CFBundleURLTypes, which reverses DNS notation form of your client ID. Safari will use this DNS notation to open your app after authentication process is performed successfully.
1 | <key>CFBundleURLTypes</key> |
Making authorization
Let’s first create our service object, class GoogleSignInService, which handles all requests related to Google Sign in. It also contains all of your project’s credentials.
1 | class GoogleSignInService: NSObject, OIDExternalUserAgent { |
Discover Google service’s endpoint and define a request.
1 | OIDAuthorizationService.discoverConfiguration(forIssuer: URL(string: Self.kIssuer)!) { |
Take a look at the scopes param, this param defines which user’s info your app can access to. Google Sign In offers 5 different scopes, including:
- NSString *const OIDScopeOpenID = @”openid”;
- NSString *const OIDScopeProfile = @”profile”;
- NSString *const OIDScopeEmail = @”email”;
- NSString *const OIDScopeAddress = @”address”;
- NSString *const OIDScopePhone = @”phone”;
You can select which ones fit your app’s requirements.
Finally, start the authentication process.
1 | OIDAuthState.authState(byPresenting: request, externalUserAgent: self, callback: { (state, error) in |
After the authentication process performs successfully, you will get an OIDAuthState object which will be used as a param to init the GTMAppAuthFetcherAuthorization object.
Normally, you should save this GTMAppAuthFetcherAuthorization object to a key chain and re-use it for the next REST API calls.
1 | private func saveState() { |
Making requests
After saving the service object to the key chain, you now can retrieve it to make any requests. I will make a request to fetch the current user profile.
1 | func loadProfile() -> Promise<GoogleSignInProfile> { |
Troubleshoot
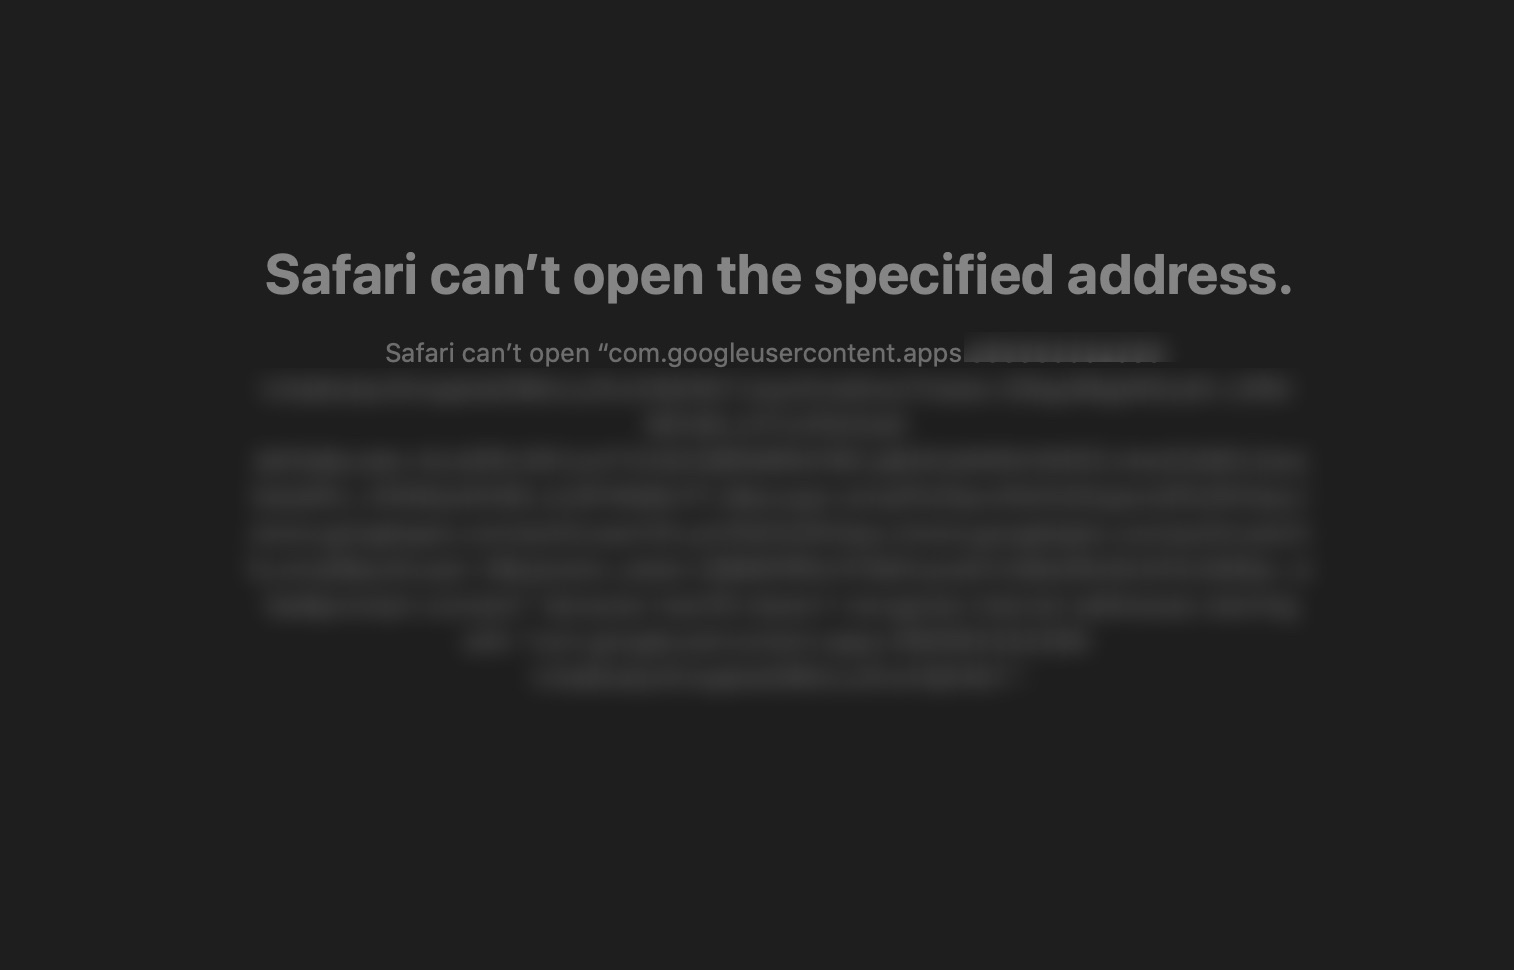
- After logging in, if your Safari can not redirect back to your app. Just clean up your project (Shift + Cmd + K) then run again.

- Other web browsers (Chrome, Firefox, etc) can not open your app so that make sure you launch the sign-in web on Safari.
1
NSWorkspace.shared.open([url], withAppBundleIdentifier: "com.apple.Safari", options: .default, additionalEventParamDescriptor: nil, launchIdentifiers: nil) {
Final thoughts
You can find the completed demo here
Now you can use Google Sign in inside your macOS to reduce your efforts for authentication. To get the full source code, please download via the Github link.
In case you have any problems do not hesitate to contact me.